Are you dealing with water damage on your drywall? Don’t panic! While it may seem like a daunting task, restoring water-damaged drywall is actually a manageable process. In this complete restoration guide, we’ll take you through all the steps you need to know to get your drywall looking like new again. From assessing the damage to making repairs and preventing future issues, we‘ve got you covered. So, grab a cup of coffee and get ready to learn everything you need to know about restoring water-damaged drywall in an engaging and easy-to-follow manner. Let’s get started!
Assessing the Severity of Water Damage
The first step in your restoration journey begins with assessing the severity of the water damage. This critical stage can determine the course of action needed for the restoration process. Here’s what you need to pay attention to:
Size of the Damage:
Measure the dimensions of the water-damaged area. Small patches might require simple repairs, while extensive damage may necessitate the replacement of entire drywall sheets.
Location:
Is the damage on a ceiling, wall, or near the floor? Damages on the ceiling could hint at a leaky roof, while wall and floor damages could be due to faulty plumbing. Each location demands a specific approach to restoration.
Signs of Mold:
If you notice a musty smell or visible mold, this signifies long-term water damage. Mold can pose serious health risks and might require professional remediation before you proceed with the drywall restoration.
Type of Water:
If the damage is due to clean water from a broken pipe, restoration may be easier. However, if the damage is from contaminated water such as sewage or floodwater, this could complicate the process and require more extensive measures.
Remember, understanding the full extent of the damage is crucial in planning the best course of action for restoration. Now, with a clear idea of the severity, you’re ready to roll up your sleeves and get to work!
Safety Precautions Before Restoration

Before diving into the restoration process, it’s crucial to prioritize your safety. Here are a few essential safety measures to follow:
Personal Protective Equipment (PPE):
Equip yourself with appropriate PPE including safety glasses, gloves, and a dust mask or respirator, especially if you suspect the presence of mold or asbestos. This gear will protect you from inhaling harmful dust particles and mold spores, or from potential cuts and scrapes during the repair process.
Electricity Safety:
Water and electricity make a dangerous combination. Therefore, before starting any restoration work, ensure that the electricity is turned off in the damaged area. Use a non-contact voltage tester to double-check that the electrical wires are not live.
Dealing with Mold:
If you’ve detected mold during your damage assessment, take extra precautions. Mold can cause serious health issues, particularly for those with respiratory conditions. Small mold patches can be cleaned using a solution of bleach and water, but for larger infestations, it’s safer to call in a professional mold remediation service.
Secure Work Area:
Clear the area around the damaged drywall, removing furniture, rugs, or any valuable items to prevent them from getting damaged during the restoration process. Also, remember to cover the floor with a drop cloth to make cleanup easier.
Adhering to these safety precautions ensures that your restoration efforts don’t come at the expense of your well-being. Safety always comes first, so gear up and proceed with caution!
Gathering Necessary Tools and Materials
Before you plunge into the restoration work, you’ll need to gather the right tools and materials. Let’s compile a checklist of the essentials to ensure a smooth restoration journey.
Drywall Sheets:
Make sure you have new drywall sheets on hand to replace the damaged ones. The size and thickness of the drywall sheet will depend on the area of damage and the existing drywall.
Utility Knife:
A utility knife will help you cut out the damaged area from your drywall with precision. Ensure the blade is sharp to avoid jagged edges.
Screwdriver and Screws:
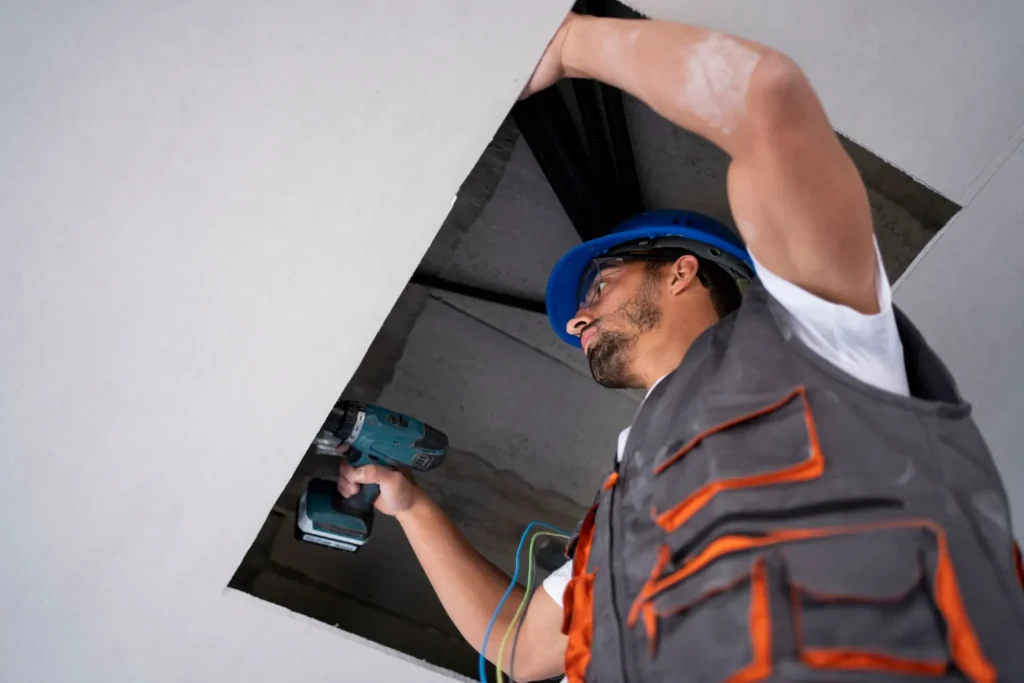
You’ll need a screwdriver and screws to secure the new drywall to the studs. Opt for drywall screws, as they have a bugle head that allows them to sink smoothly into the drywall.
Joint Compound (Mud):
This is used to fill the gaps between the new and old drywall and create a smooth, seamless finish.
Drywall Tape:
Drywall tape reinforces the seams and provides a base for the mud.
Primer and Paint:
Choose a primer and paint that matches your existing wall color. The primer will ensure better adhesion of the paint to the surface, and the painting will blend the repaired section with the rest of the wall.
Remember, having all necessary tools and materials readily available will save you time and prevent unnecessary interruptions during the restoration process.
Mudding and Taping the Seams

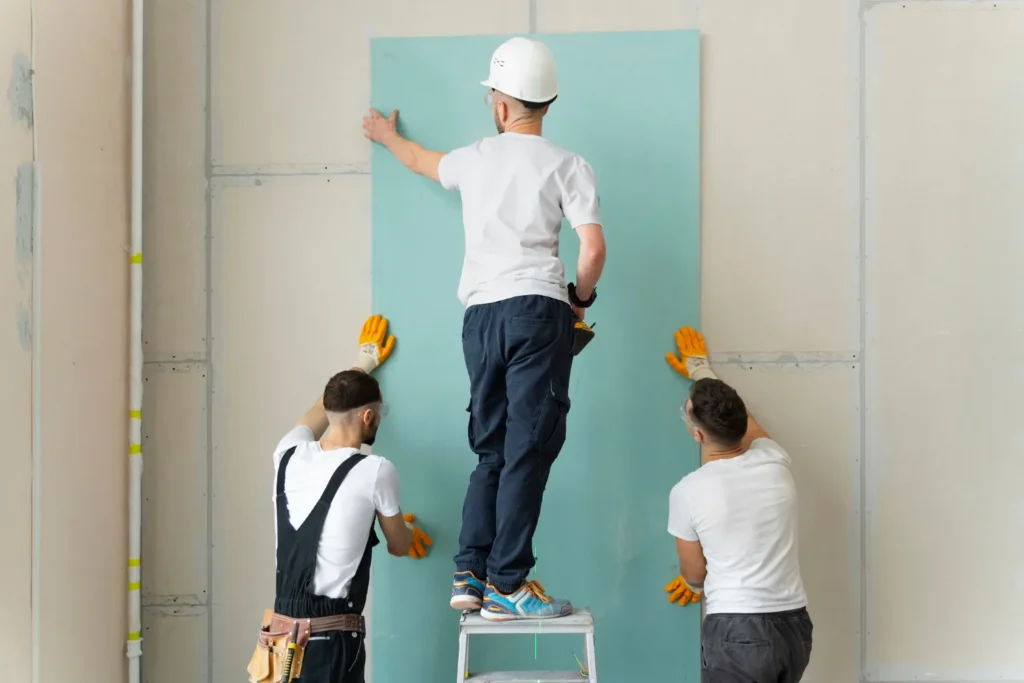
With your new drywall piece firmly in place, it’s time to blend it seamlessly into the rest of the wall. Start by applying a generous layer of joint compound, or ‘mud’, around the edges of your new drywall. Following this, take your drywall tape and press it firmly into the mud, bridging the gap between the old and new drywall. To finish off, spread a second helping of mud over the top of the tape, completely covering it. Now, allow for some drying time. Once dry, take your sandpaper and lightly smooth the mud, refining the edges and ensuring a flat, seamless surface. Be gentle – too much pressure can dig into the mud and tape, disrupting your beautifully blended seams. This step really brings your restoration to life, so stay focused, stay patient, and keep your eye on the prize!
Applying Primer and Paint
The moment of truth is upon us! We’re now ready to embark on the final stages of the restoration journey: applying primer and paint.
Apply Primer:
Begin with a layer of primer. It creates an ideal surface for the paint to adhere, leading to a more vibrant and long-lasting color. Using a paint roller or brush, apply the primer evenly over the entire repaired area, extending slightly beyond into the existing wall. This ensures a seamless blend between the old and new areas of the wall. Allow the primer to dry thoroughly before moving to the next step.
Paint the Area:
Now, it’s time for the actual painting. Choose a paint color that matches the rest of your wall. Using your paint roller or brush, apply the first coat of paint. Remember, it’s better to apply multiple thin coats of paint rather than one thick coat. This prevents drips and ensures a smooth finish. Once the first coat dries, assess the need for a second or even third coat.
Multiple Coats:
Don’t fret if the first coat of paint isn’t giving you the desired coverage. Allow the first layer to dry completely before adding a second, or even third, coat if necessary. Just remember to let each coat dry thoroughly before applying the next to avoid any splotches or uneven color.
With the application of primer and paint, the restored drywall begins to blend in with the rest of the wall, inching ever closer to the finish line of your restoration project!
Finishing Up the Restoration

Take a step back and scrutinize your hard work. Does the newly repaired section mingle harmoniously with the rest of your wall? If it sticks out like a sore thumb, don’t worry, you’re not done just yet. It might need another layer of paint to match perfectly or perhaps some additional sanding for a more even texture. Tweak it until you can’t tell there was ever damage there in the first place. Remember, the final steps are as crucial as the initial ones.
Don’t rush this part – your attention to detail here will be the difference between a job well done and a job redone. So, let’s get back to work and polish off that restoration with the same commitment you began with!
Preventing Future Water Damage
Avoiding another round of water damage restoration begins with vigilant prevention. Make it a habit to fix leaks promptly – a swift response can save you from a lot of trouble down the line. Pondering about a bathroom or basement renovation? Don’t think twice about choosing water-resistant drywall for these moisture-prone areas.
Regular home inspections for any signs of water damage are another smart strategy to keep problems at bay. Prevention may require some effort and a keen eye, but it’s worth it to keep your walls healthy and your wallet happy. Remember, the best way to deal with water damage is to stop it before it starts!
Conclusion
With the right knowledge and tools, restoring water-damaged drywall is a feasible task. We hope that this comprehensive guide has equipped you with the necessary steps to tackle this daunting task. From assessing the severity of damage to installing a new piece of drywall, mudding, taping, painting, and preventative measures – each step is integral to a successful restoration.
Remember, patience and attention to detail are your best friends throughout this process. And if you find yourself needing professional assistance, don’t hesitate to contact us. The goal is a beautifully restored drywall, and we’re here to help you achieve that!


